whimsy

whimsy

Monday 30 July 2012

Collecting

"Covet and cherish things small and faded, carry them in your pocket until they wear a hole. It is good to do this all of your life." - K. Cotterman 

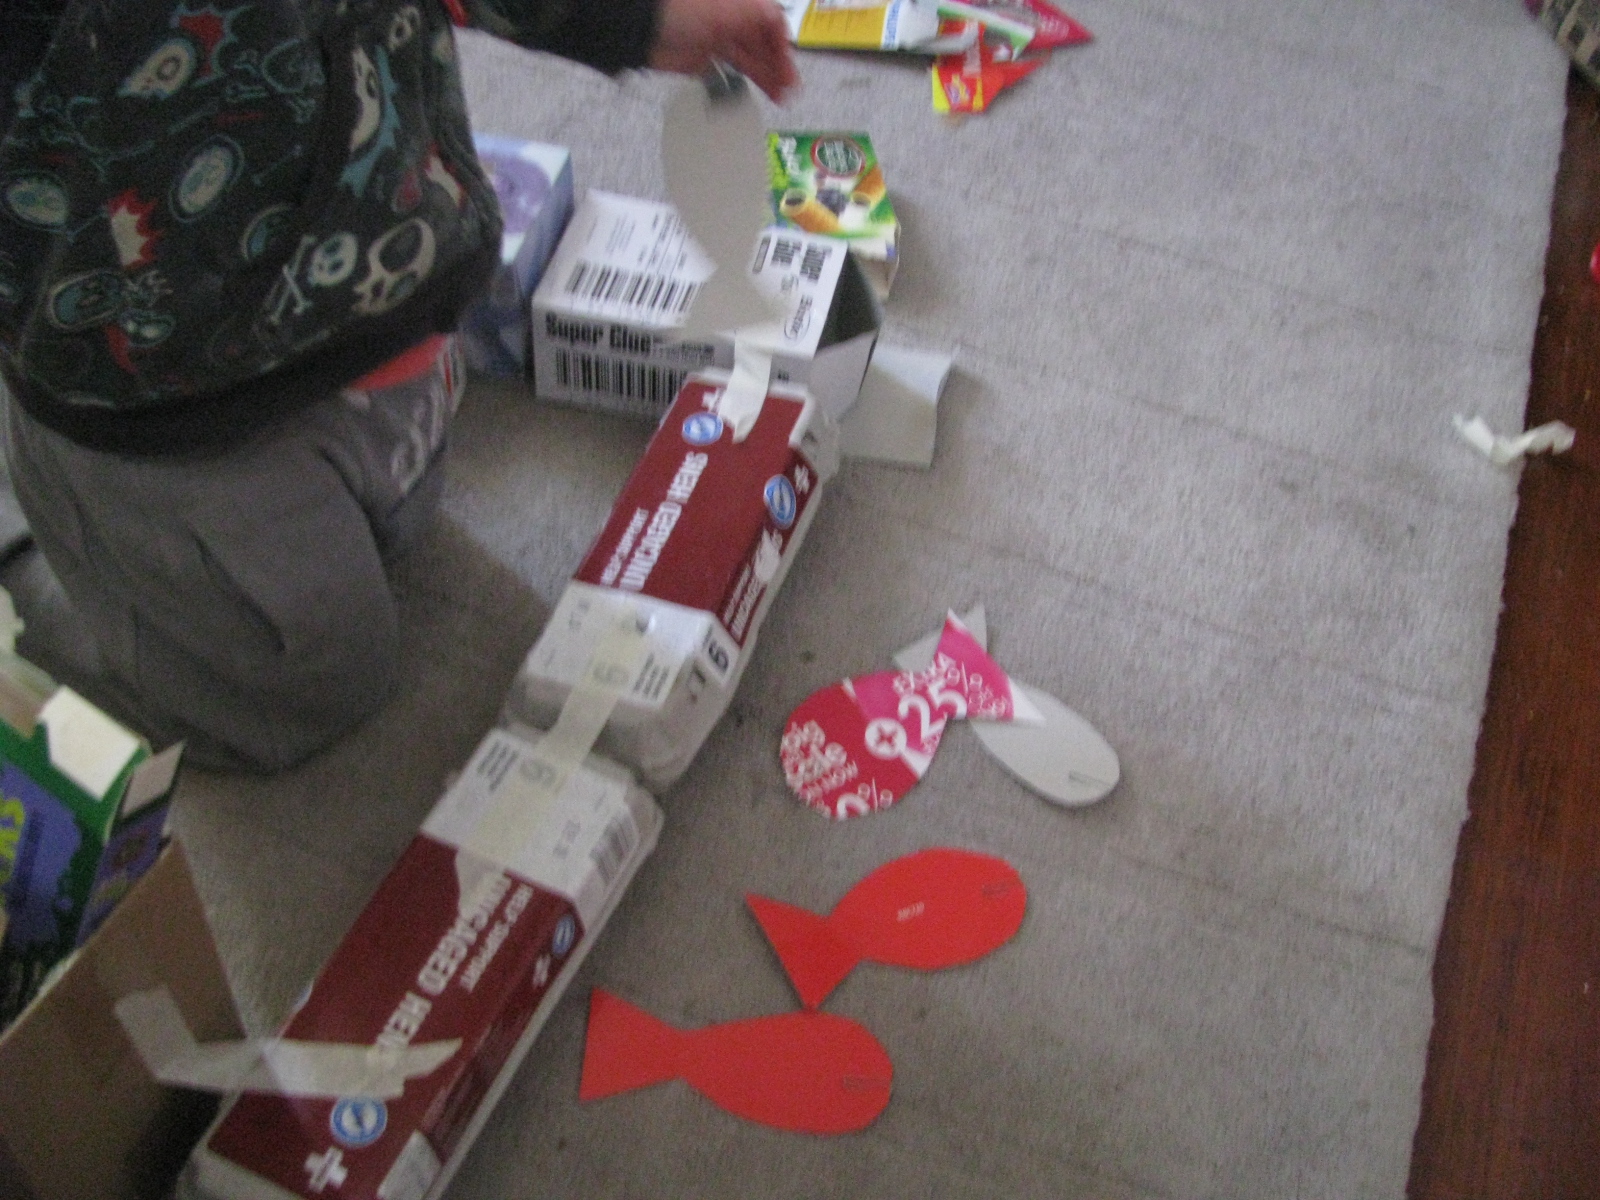
We have a little friend who collects every day. His mum has to check his pockets for old batteries, half (eaten?!) dog biscuits, acorns. stones or bits of stick before his clothes go into the washing machine. Our boy likes to collect to, often from nature, not so much in his pockets- more so in his hands and then plonked in a place where he can check over his 'spoils'.


As a kid I collected erasers, stamps and stickers. My brother collected rugby league magazines, coins and paper notes. As an adult I had collected balls or spheres but I lost 80 % of them in the quakes as most were glass or ceramic.

I don't know exactly what it is about collecting that has led me to encourage the children to. Maybe it's because you have to stop, look closely and notice things, sometimes they're small things that other people may have overlooked. It could also be the satisfaction of finding a rare, unusual or sort after piece. Maybe its because collecting is a visual and tactile thing which is the sort of person I am. I'm also very sentimental and objects often hold memories for me.

While I don't expect our kids to collect anything or to get the same pleasure as I did from it, I've put up printer's trays in their bedrooms. They're great for displaying special things that I've put in there or the 'treasures' they find on holidays, walks, day trips or inside their Kinder surprise! It's also a handy place to put pieces of jigsaw puzzle or the like that have just had a narrow escape from the vacuum cleaner : )

As time goes on I'll take away the things I've added to give them more spaces to fill. I like looking at them and talking about their finds. That's what I love most about collecting- for me it's mostly about making connections with people through things.


these were my great grandmother's


Sunday 29 July 2012

fossil biscuits

 M is talking about dinosaurs in her room at pre school so I thought this would be a fun way to extend on that and teach both kids a bit about fossils. This idea came from the Martha Stewart website http://www.marthastewart.com/

Ingredients
  • 1 cup walnuts, toasted
  • 2 1/4 cups all-purpose flour, plus more for dusting
  • Salt
  • 2 sticks unsalted butter, room temperature
  • 3/4 cup plus 2 tablespoons confectioners' sugar ( is that caster sugar?)
  • 1 teaspoon pure vanilla extract
Directions
  1. Preheat oven to 325 degrees. Pulse walnuts in a food processor until finely ground. Transfer to a bowl, and whisk in flour and 1/2 teaspoon salt.
  2. Beat butter, sugar, and vanilla with a mixer on high speed until pale and fluffy. Reduce speed to low. Gradually beat in walnut mixture.
  3. Divide dough into eighteen 1 1/2-inch balls, and press into irregular stone shapes using the palm of your hand; transfer to a parchment-lined baking sheet. Dust food-safe plastic insects with flour to coat; press into dough to make fossil impressions. Freeze until dough is very firm, 20 to 30 minutes.
  4. Bake until golden brown and firm in center, 25 to 28 minutes. Transfer sheet to a wire rack, and let cool.
You make the biscuit dough, shape it into balls, flatten the balls slightly with your hand and then press ( clean and floured) little plastic animals into them to make a shape.
The recipe doesn't say what temperature to bake them at so I went for 180o C. They didn't come out as well as Martha's did ( even after a full hour in the freezer) but we had fun and they taste nice. ITou caould even argue that they're healthy-ish since they have walnuts in them : ). I'm thinking if you follow the recipe you're bound to get better results than I did as I'm not a baker and we have a terrible oven that just decides if it's going to be too hot or not hot enough depending on what you're trying to cook!


one of our best- a scorpion
Martha's fossil biscuits- she's clearly an expert at making them : )


Friday 27 July 2012

Things I'm loving this week

Joining in with things I'm loving at http://meghanandmark.blogspot.co.nz


I wholeheartedly believe that no matter what is happening in your life, there is always something you can be thankful for..no matter how simple it is. 
That the kids are still enjoying swimming lessons
My husband and what an amazing dad he is
That one of my best friends gets married in 15 days time
Showing the kids cool art that's popping up in town
This clothes hanger I made for M, I find it satisfying to look at

Thursday 26 July 2012

our boy and boxes

T loves boxes and could spend a day playing with them, in them and using them to build things. I have a large box I keep in the garage and we use it to collect smaller boxes, tubes, boxes and card. I cut off strips of masking tape for him to use to stick things together but he's very keen on using scissors so also does a lot of destroying cutting! I helped him find a piece of dowel to use as a fishing pole, cut out some fish shapes and put a metal paper clip on each. I tied string and a magnet to the fishing pole. Today his sister is at kindy but when she gets home she'll be able to get into the boat we made and do a spot of fishing- I wonder if she'll be unlucky enough catch the boot? : )


arrgh odd socks- oh the shame!

fishing from his boat. That tissue box is his 'fish holder'

Wednesday 25 July 2012

face plates

These are fun. I got two white plates from an op shop today. I drew a face on with permanent marker and then zapped them in the microwave for 2 minutes hoping that would 'seal' the pen. I don't think it will come off easily. Unfortunately ( for me) we don't own a dishwasher and imagine it will take quite a few hand washes before it fades.

he he, yes I do worry about how silly I am sometimes but the kids are happy!

Monday 23 July 2012

melted bead mobiles

I saw this idea on here: www.artfulparent.com

We've inherited some mobiles from the grandparent's tree that they had to cut down. Having these new additions hanging in our trees has sparked the children's interest in mobiles. To make these I used an old muffin tray, we filled the spaces with plastic beads and put it the oven for 10 minutes ( 180c). We had to open all the windows and doors as it got quite smelly for a bit but it went away quickly. We liked how they came out but decided not to do it again until Summer when we can melt them outside on the BBQ. I think I'll use a bigger pan too.


please excuse the ugly blue water pipe running through our garden... sigh

Sunday 22 July 2012

channelling macgyver

I have to confess that I had a teenage crush on the, much older than me at the time man named Mac Gyver. This post is dedicated to him - the man that could make anything out of anything!


As kids my brother and I liked swing ball. I wanted to see if the kids would like it too but didn't want to buy one only to find that they're not as keen as we were.  I thought it would be pretty simple to make. It turns out it wasn't. The one in the photos is version 3 as my first two attempts kept ending up with the string wrapped around the pole, which I think is why the real swing ball sets have that spring shaped thing on the top. The old metal handle I found in the garage helped hold the string out and further away from the pole- which reduced the amount of times the string got wrapped around. I think my man MacGyver would be proud of me!

The pole for our fancy swing ball is an old broom handle. The base is an umbrella stand. The metal bit at the top is an old drawer handle (I think) and I just used a long self tapping screw to attach it to the top of the pole. I used plastic string as I thought it would be stronger, put a tennis ball inside one of T's odd socks (we have plenty of these) and tied it to the end of the string. I just guessed the length. M loved it and it didn't take her long to get the hang of it. T was more interested in his bike today but I'm sure he'll give it a go tomorrow.

I'm off to play that cool theme song again.


Saturday 21 July 2012

DIY clothes hanger

I've been meaning to make one of these for a while as lately M has decided that she'd like to wear dresses more often. The kid's rooms don't have wardrobes. I've had her dresses folded in the top drawer of some drawers that hold their dress up clothes- not ideal. It was a very easy process and didn't cost me anything but my time. The pictures pretty much say it all but here's the steps anyway:

1. Find ( or on my case- saw off) a tree branch.
2. Cut the smaller branches off it, leave some longer if you like.
3. Paint it white with 2 coats of paint. I used left overs from test pots.
4. Put some hooks into the ceiling ( or in my case put some small nails in the picture rail).
5. Tie a very long length of fishing string to each hook.
6. Tie the bottom part fishing string to each end of the branch- try and get it level-ish and then tie it firmly.
7. Hang clothes on, step back and admire : )

I thought M might like to hang some of her necklaces on the smaller branches and her bags on the ends. 


so simple and cute

Friday 20 July 2012

a present from the fairies

Many posts ago I explained how I've made both kids fairy door's for their bedrooms. I saw this idea on Pinterest and even though M's birthday is still 5 months away I knew that as soon as I could find what I needed, I'd make it. 

I was relieving in a new entrant class yesterday. The teacher had asked me to take the children outside and collect walnut shells from under the trees to make little boats. We made them using half a shell as the hull, cut up straws and paper as sails and play dough to hold the sails up in the hull- some floated, some didn't- it was good fun and I popped a spare shell in my handbag knowing exactly what I'd use it for later.

The idea is to leave it outside the fairy door and tell M that it came from them- I can see her wee face lighting up now : )

Split the shell open and empty it of nut. Line the inside with some felt or any other material you have available

 
 Paint the outside of the shell with glitter paint or apply a layer of pva glue and glitter.

 
 Put the tiny gift inside ( a pegasus ring chosen by T , $3.99 from Toyworld). Tie a ribbon around it and leave it outside your fairy door the night before your beautiful's birthday.

rainbow mobile

Later today we're going for a play date at a little friend's place. He likes colourful things too so we thought we'd make him a gift. I wanted to make something out of materials we already had at home and then share it for the colour me there colour me happy july challenge.

A few weeks ago I bought a packet of ice block sticks to make the cd pom pom maker so used some of those, some wooden beads, fishing string, a toggle off an old top of T's and a metal ring as the hanger.

After drilling a small hole through the ice block sticks we just threaded the beads on in order.

It's such a simple wee mobile but I think that's we I like it. It also only took 10 minutes to make and was simple enough for the children to put together themselves. We think our little friend will like it.


Thursday 19 July 2012

bento again

My brother and sister in law went to Japan for a holiday a few weeks ago so I asked them to look out for some bento equipment for me while they were there. They came back with heaps and I'm planning to have some little friends over for a proper wee bento lunch-maybe when it's warmer outside. I love stationary too, so it must be something about lots of small things with many uses. I've added a picture of  my first attempt using the cut out shapes ( using white and multi grain bread) . There's boiled egg moulds, tiny cutters for cheese, fruit picks, little pictures that can decorate the lunchbox, moulds for cooking a poached egg in and little sticks for holding mini sandwiches together. I love it and the next picks will be sooo much fancier promise.


Wednesday 18 July 2012

sand trays

Sand trays are a Montessori tool that I love. I saw them being used in a new entrant classroom today so thought I'd make one at home. I'd love a wooden box and fine, yellow sand ( like in the bottom picture below) but we didn't have those, just a tray and some sand from the old sand pit. It still had the desired effect though- the kids loved using their fingers to form letters, numbers and pictures. I might make up letter and numeral some cards similar to those shown in the last picture. The dot shows the starting point which I like. Once the shape etc is drawn you just give the tray a light shake and start over again. The video I made of M was on the wrong setting and is a horrible coloura nd quality- but still has cute factor so it made it on here : )