whimsy

whimsy

Wednesday, 30 April 2014

glow jars

I have seen glowing fairy type glow jars on the internet and have been wanting to try one for ages. I recently read a tutorial that suggested using tulle in the jar to help distribute the glow stick fluid- which is what we did.

Instructions:

1. Find an old clean jar and put a piece of tulle and a small figurine inside. We used a butterfly and a plastic insect for ours.

2. This step is for grown ups only. Snap and activate the glow sticks. Cut them using strong scissors into pieces letting all parts fall into the jar. Be careful as the insides of the glow sticks have little shards of glass type stuff.

3. Put the lid back on the jar firmly and shake. Take the lid off and use tweezers to remove the empty pieces of glow stick.

4. Return the lid and tape it down to stop any curious little hands. Tie and ribbon and bell around the top.

5. Put them in a dark room and listen to the oooooooooos and arrrrrrrrrrssss : )


Sunday, 27 April 2014

melted pastel rocks

I wanted to do an Easter craft. The idea is that you boil eggs and while they're hot decorate them with crayons as they melt on the hot shell. I couldn't find white eggs anywhere so we flagged it.

Thinking some more about it, I doubt we would've eaten them with the outside coated in wax- so maybe it was a good thing. I know the kids would've wanted to decorate more than one egg so it would've been a bit wasteful.

Anyway, from all of that I got the idea of heating up rocks in the oven ( I know, I also wonder how my mind gets to these places!...) They didn't take long to get hot and it was really fun watching the pastels melt, blend and run into each other. We used a folded tea towel with some tinfoil on top to protect the table.

I should point out that this is not a craft for young children. I had to talk to my kids at length about how hot the rocks would be and not to touch them with anything but the end of the pastel. They only used longer pastels but both got a wee bit of a fright when they got a bit close- but no burns. I'd say this is best done with 7 year olds and up.

When the rocks had cooled and the wax hardened I sprayed them with a clear polyurethane and displayed some at our front door step- a bit of bright happiness for visitors.


Thursday, 24 April 2014

charcoal kiwis

We went with friends to one of our favourite places this week, Willowbank Wildlife Reserve. It was pouring with rain and we we're literally the only people there. Maybe that's why the kiwi was relaxed and happy enough to let us watch him for such a long time.

At home we talked about the kiwi's beak and feathers. After some playing around with the charcoal we drew some. We talked about making little lines and blending the charcoal with our fingers to make the kiwi's short feathers look soft.

Playful learning blog about toddlers using charcoal so this would be a good place to start if you're thinking of giving your kids some charcoal to experiment with.  It can get pretty messy though!

Some of their ideas are to:

  • show them how to blend the charcoal by dotting their finger on the paper
  • press down and run their finger across the page
  • see what happens when they use their whole hand
  • show them how to rub the long side of the charcoal across the page
  • introduce some coarser, thicker paper and see how this changes how the charcoal moves
After we'd drawn the kiwis I showed them this ( a- maz-ing) picture. We talked about how the artist may have used the charcoal to create the different shades, lines and the white parts of the tiger's face. 

Next time we draw we'll talk about shading, and use a rubber/ eraser to rub out some of the dark areas or lines.

It was a lovely quiet way to spend a very rainy afternoon x

By Robert Longo


Sunday, 20 April 2014

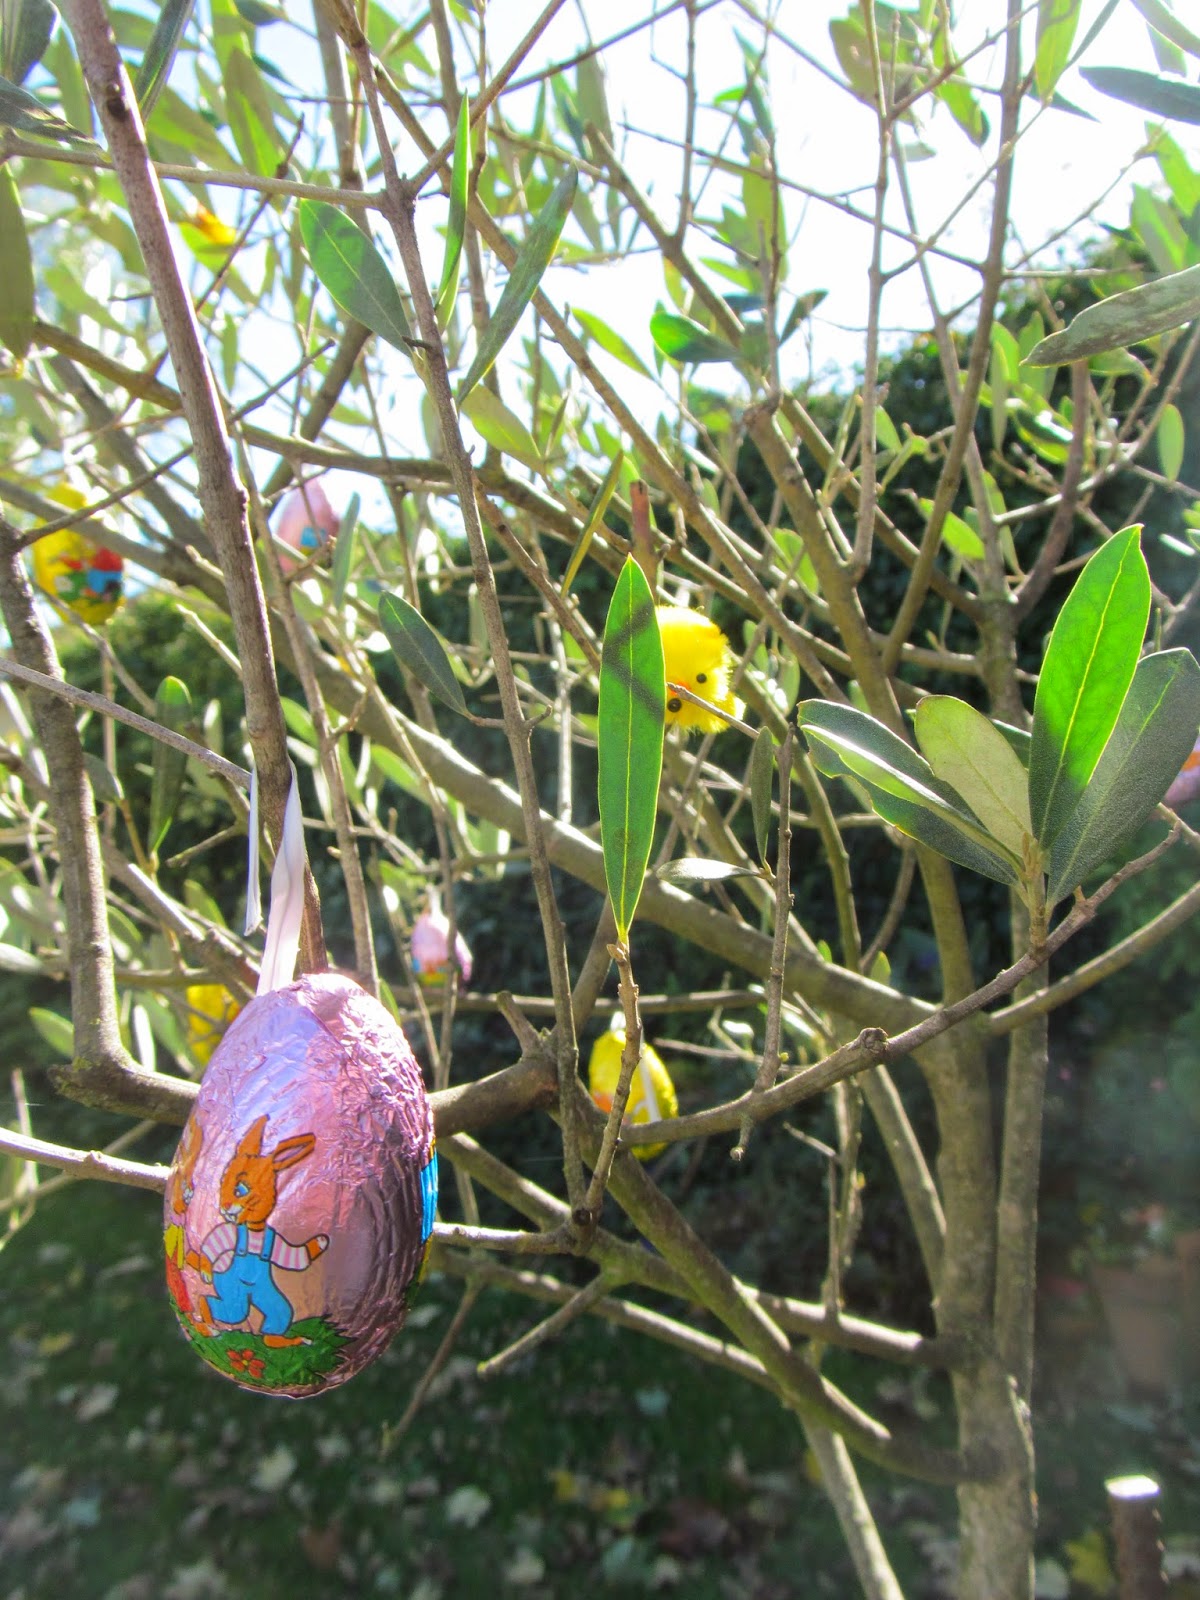
an easter surprise

I was inspired by this picture...

Volker Kraft hung 10,000 colored eggs in his apple tree this week in Saalfeld, Germany.

Ours was on a much smaller scale, but they were still happy : )


yes, the apple got put to the side after this : )

Friday, 18 April 2014

six vege pizza sauce

Our kids happily munch through a whole bowl of fruit a week, however I have tried for years to broaden their tastes in the vegetable department with little success. We present them with veges every day, encourage them to try new ones, we have our own vege garden growing, but still aged 5 and 6, they really are only happy to eat:

lettuce
cucumber
potatoes
carrot
sauces made with tomatoes
onion ( reeeeeally finely chopped)
courgette ( pureeded and hidden in sauces- no one mention the courgette!)
pumpkin ( in soup form only)
garlic and parsley- do they count as veges? :)
baked beans and bean mixes in nacho mince!!
chick peas ( as hummus)

We've had some success with:
celery ( with peanut butter )
brocolli ( they pretend they're dinosaurs eating trees!)

and no luck AT ALL with :
leeks
spring onions
mushrooms
red pepper
avocados
tomatoes fresh- we grow cherry ones every year too
kumara
cauliflower
peas
corn- even cobs!?
beetroot
cabbage
silverbeet
spinach
asparagus
and every other vege I haven't mentioned

SO, this caught my eye and I decided it was worth a try, I was even thinking of smuggling a few more veges in like broccoli and red peppers.

Six-vegie pizza sauce
1 tbsp olive oil
1 onion, diced
1 tsp brown sugar
2 cloves garlic, minced
1 carrot, peeled, grated
1 zucchini, grated
1 large potato, peeled, grated
4 button mushrooms, grated
1 tsp Italian herbs
2 tsp Balsamic vinegar
2 tbsp tomato paste
400g can crushed tomatoes


The onions cook slowly for a while – get them going, then do the rest of your prep while they’re cooking.

Heat the oil in a medium sized saucepan over low-medium heat. Add the onion, and cook slowly for 10-15 minutes. Keep the pan covered, and just stir every couple of minutes. When the onions are translucent, remove the lid, sprinkle over the sugar and cook for another 10 minutes, stirring often, until the onions are golden brown.

Add in the garlic and cook for 30 seconds or so before tossing in all of the vegies. Again, you want to sweat them down, so give the mix a good stir, cover and give them about 10 minutes cooking time (lift the lid and stir every few minutes).

Remove the lid, add in the herbs, vinegar and tomato paste. Pour over the can of tomatoes and mix really well before recovering and simmering on the low heat for 10 minutes more.

Blitz the sauce up and use on pizza or mix through pasta. Makes about 4 cups & freezes really well.


Source: vegiesmugglers.com.au

Sunday, 13 April 2014

Quail Island

In Lyttelton Harbour here in Christchurch there's a great family day trip available at Quail Island.

T and I went last week with his school and we will definitely go back as a family- maybe in Summer as there's a lovely beach there.

You can take the black cat ferry- more info here: http://www.blackcat.co.nz/quail-island-adventures.html

Tickets are $25 an adult and $12.50 a child.

There's plenty to see, the island is home to many native birds including the fantail, kingfisher, silvereye and many sea birds including the rare white flippered little blue penguins.


Wednesday, 9 April 2014

easy peasy curls

This is an easy way of making curls without having to use a curling iron in young hair : )

When hair is still damp after a shower or bath, twist sections of hair into little buns and fasten with mini hair ties ( the ones that loo like little rubber bands).

Let them sleep with their hair like that for the night. If you make the little twists small and not too tight they're not lumpy and uncomfortable.

In the morning gently pull out the hair ties or snip with little scissors ( carefully!)


This was after the curls had dropped a bit

Thursday, 3 April 2014

M writes a book review

Recently I entered M in a competition with the family times magazine. The winners receive a book to review and keep. We won a copy of the very gorgeous, Henry's map. Here's the review M came up with (and I typed). It's published on the Family Times webpage here, an all round fun learning experience for her : )


I was very excited when Henry's Map by David Elliot came in the post for me.

"A place for everything and everything in its place"  is what the pig in this story says.

The story is about a pig called Henry who makes a map of the farm he lives on. It was so he could see where the buildings and animals on the farm should be. It's a funny book that will make you smile.

I liked the book because I also like drawing maps. I think the pictures of the farm animals are cute too.

This book would be a really good present for a girl or boy aged 5-8.

The only thing I would change is that I think it would've been good to have a rooster in the story. I think farms need a rooster to wake all of the animals up in the morning.

My Name is Mae. I am 6 years old and I live in St Albans in Christchurch. I like to do crafts, play outside with my brother and listen to music. I have just started reading Billie B Brown books and I think they're awesome. I also like Mum and Dad reading chapter books to us. Right now we're reading a book I borrowed off my teacher called The Giants and The Joneses by Julia Donaldson.