whimsy

whimsy
Showing posts with label pinata. Show all posts

Wednesday, 11 December 2013

a red eyed tree frog

When asked what type of pinata he'd like me to make for his party, T requested a red eyed tree frog : ). His choice was probably inspired by one of his favourite books by Joy Cowley- it's a simple little story with pictures by Nic Bishop that he loves.

We made this using a balloon, newspaper flour and water paste, acrylic paints and orange and green paper.

This frog is filled with chocolate freddo frogs- another favourite in our house!


Thursday, 21 February 2013

a treasure chest pinata- how we made one

My nephew turns 5 soon and he requested a pirate pinata, so he's getting a treasure chest. He's hoping it will be filed with chocolate coins! Here's how to made one like we did.

1. Find a smallish box,  cut out the sides and cut a small hole at the front. Run pieces of masking tape across the sides for the paper mache to be attached to.


2. Cover with 3 layers of paper mache and one layer of white paper ( I forgot to take a pic of that stage) or you could paint a base coat of white paint.


3. Paint it to look like a chest. I used some silver masking tape we had.


4.  Use the space at the front to thread two handles through. I anchored each end of these inside using 4 milk bottle tops.


5. Now the pinata is ready to fill through the hole at the front. I drew a keyhole image on a piece of tape for my brother to cover the hole with once the it's been filled.

We'll find another piece of rope to thread through the handles to hang. When the kids are trying to break it open I'll let the birthday boy know to hit the thinner sides!

I'll have to remember to get my silver tape back- I'm sure I'll have lots of uses for that.


Monday, 10 December 2012

a flower pinata

It's the girl's 5th birthday party next week. She requested  a fairy theme but I didn't want to make a fairy pinata ( something about hitting a pinata that has a face bothers me!) so we made a flower- modeled on my favourite flower the peonie.

We used a big round balloon as the base, paper mached it in four layers, painted it pink and glued on the petals. The petals are pink paper place mats I cut up. I used some green cord and felt to look like the stem and leaves. There's freddo frogs, fairy bookmarks, fairy and pirate body stickers and lollipops inside : )

Not a great photo but you get the idea, making a pinata is so much fun.

I'm also looking forward to getting everything together for her party. Some shudder at the thought of spending a morning baking for a party and icing and sprinkling up a storm but I LOVE it.

I'll add some photos after the weekend- keep your fingers crossed for nice weather for us!


Thursday, 11 October 2012

an icecream pinata

The girl would like a pinata for her birthday. I've decided to make one for her friend's party in November- mostly because he'll like it but also to work out how it's done.  Getting the amount of paper mache layers right is the part I thought I'd find tricky- I don't want it to smash open with the first hit but also don't want it to take forever to open up and end up needing an enthusiastic dad to step in!

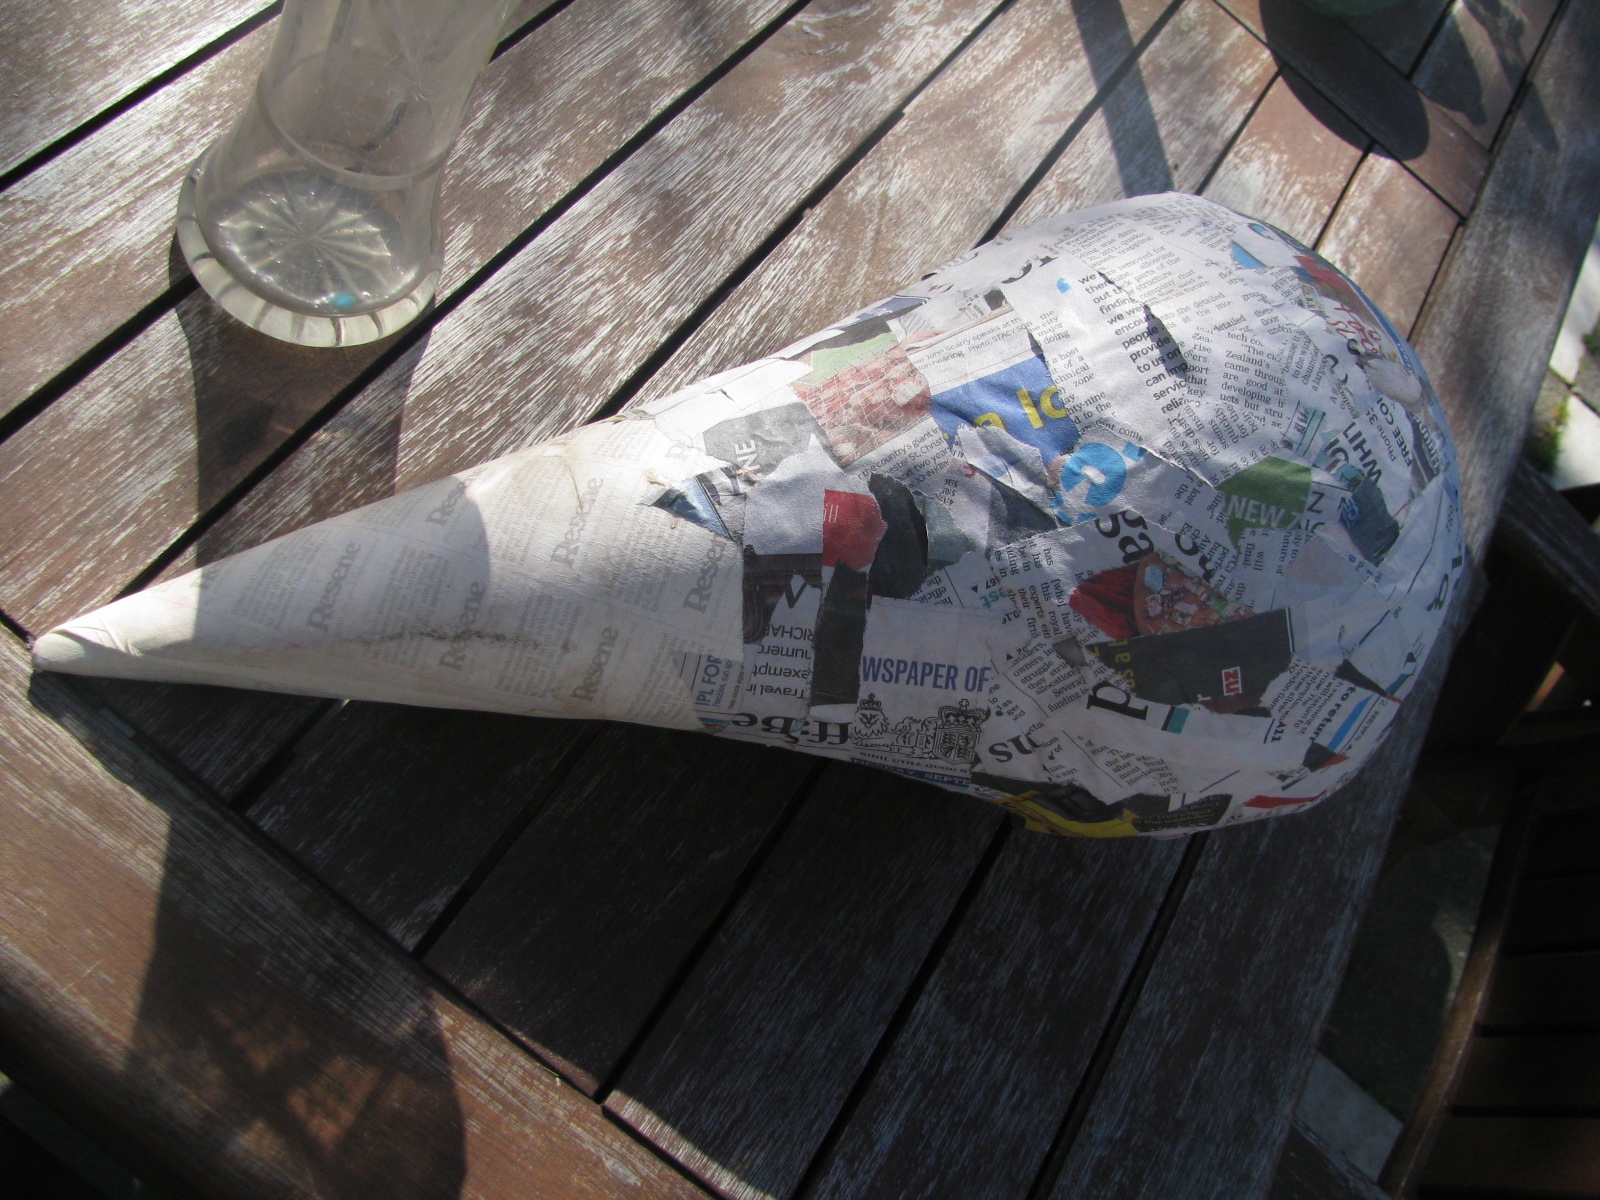
He likes ice cream so an ice cream in a cone seems appropriate. Once we covered the top part with several layers of paper mache ( the kids helped) I painted it with a base coat of white. There's no need to paper mache the cardboard cone. I painted the ice cream part to look like it's chocolate flavoured.

At this stage I used a craft knife to cut a small opening in the cone part of the ice cream we'll use to put the treats in. I used that opening to pierce a hole in the top of the ice cream part too. I threaded a double length of fishing nylon ( so the string isn't that visible) through a yoghurt container and tied the end to a small bolt. I did this because the string is thin and I wanted to anchor it inside the ice cream so the pinata doesn't just get separated from the string the first time it's hit.

I used strips orange crepe paper to cover the cone. We put the treats inside and covered up the door with more crepe paper. We'll use a soft bat on the day, anything too hard would've made short work of it- no fun at all.


The card is from Resene, they sell $1 sheets of card for testing paint samples so I always buy extras.
Drying in the sun