whimsy

whimsy
Showing posts with label dinosaurs. Show all posts

Wednesday, 5 February 2014

frozen dinosaur eggs

As I stood at the sink for aaaaaages filling one water balloon up after another ( never again). I wondered what filled ones would come out like when frozen. I put some in the freezer and I've been waiting for a nice warm day to see.

Take them out of the freezer and give them a rub with a towel to get the balloon off.

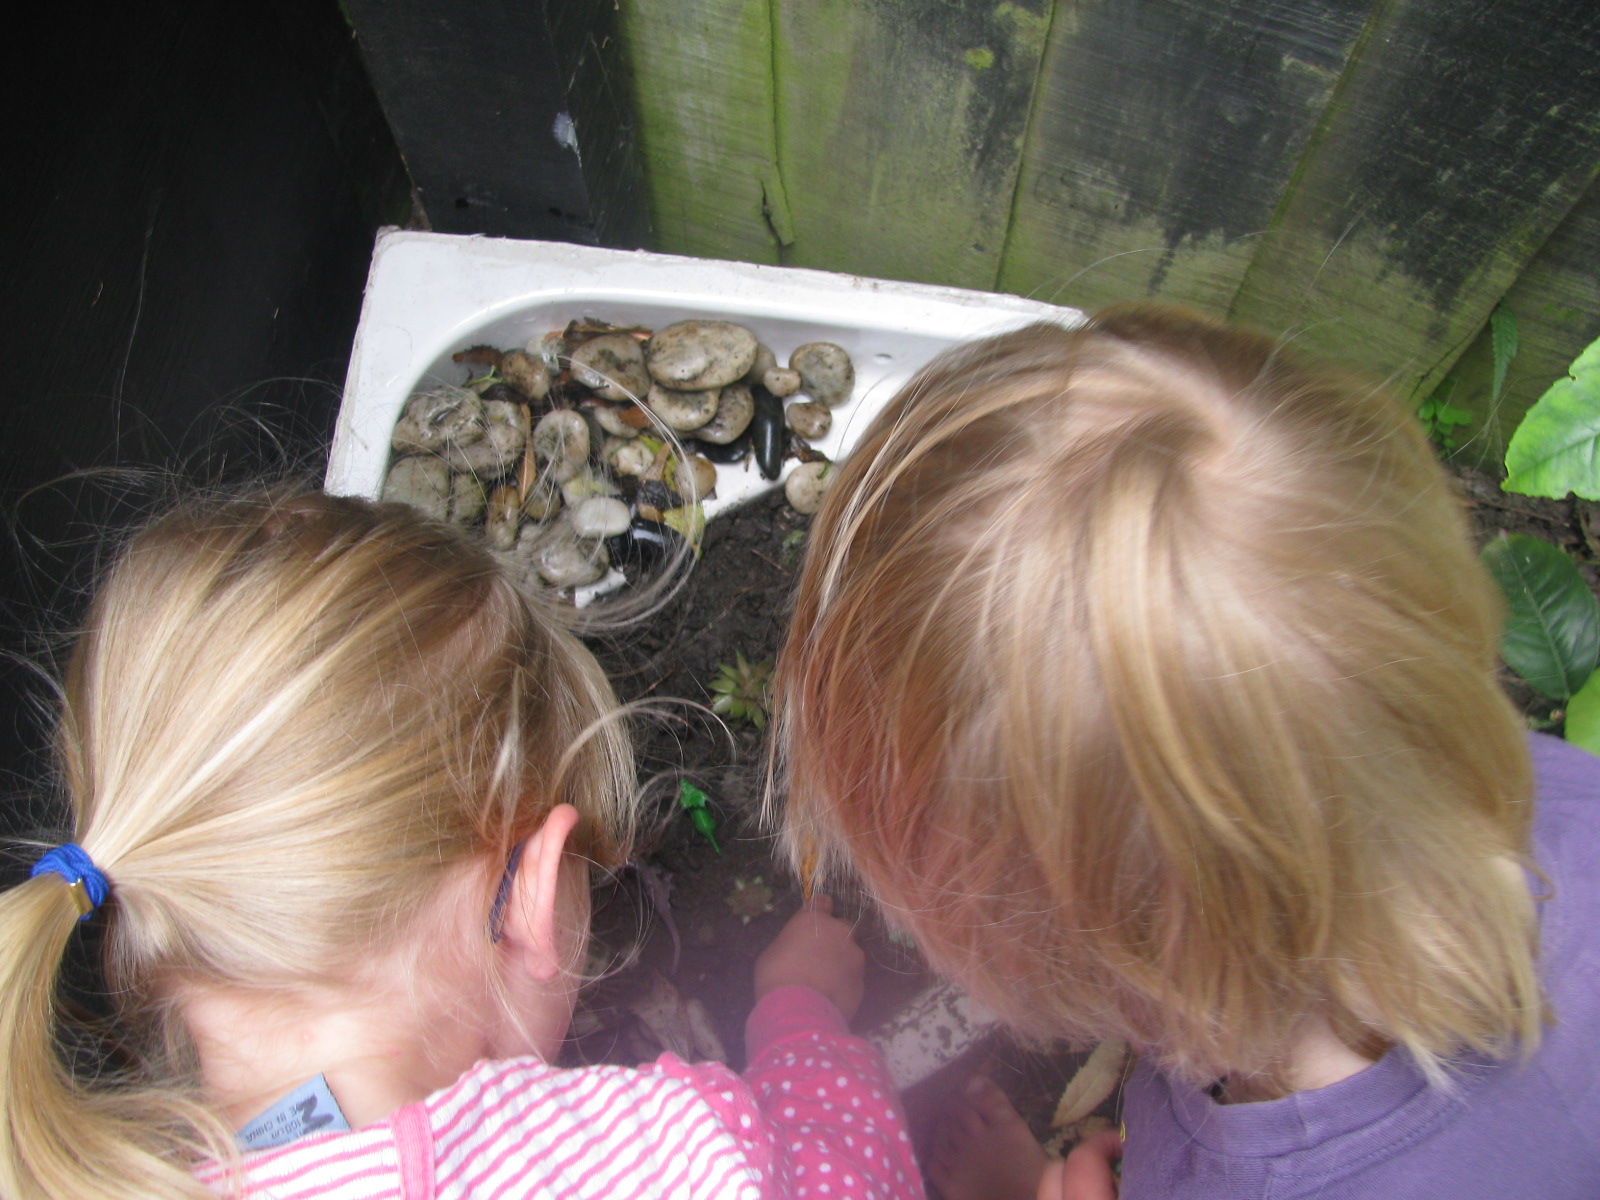
They looked like dinosaur eggs to us, we loved the shapes inside them. Little kids would like these, especially those teething.

The kids had lots of fun trying to melt them or trying to have them not melt ( lots of great discussion around sun and shade) but the real fun started when I put my camera down and dared them to both put one down the back of their pants! x 


Wednesday, 27 November 2013

imagination invasion

I am so in love with this dinovember idea. These pictures were taken by a couple of very clever American parents have dedicated the month of November to convincing our children that their plastic dinosaurs come to life while they sleep.


Why do we do this? Because in the age of iPads and Netflix, we don’t want our kids to lose their sense of wonder and imagination. In a time when the answers to all the world’s questions are a web-search away, we want our kids to experience a little mystery. All it takes is some time and energy, creativity, and a few plastic dinosaurs.

 dinovember on facebook
 
dinovember

Another fun idea is: 

The Elf on the Shelf® is a special scout elf sent from the North Pole to help Santa Claus manage his naughty and nice lists. When a family adopts an elf and gives it a name, the elf receives its Christmas magic and can fly to the North Pole each night to tell Santa Claus about all of the day's adventures. Each morning, the elf returns to its family and perches in a different place to watch the fun. Children love to wake up and race around the house looking for their elf each morning.

http://www.elfontheshelf.com/ 


So I have an idea up my sleeve, watch this space : )

Wednesday, 10 April 2013

dinosaur drawings

I just had to share these dinosaur pictures T painted. He used two pieces of paper because he wanted them to "be very long so I have room to do the body and the head". Don't you just love kid's art work?

lots of legs so he can run fast

this one even has a belly button


I still have to supervise our painting sessions but have a trolley of supplies at hand so they can draw, colour, trace, write or make something for someone whenever they feel like it. It's probably not a system for those that like things to be very tidy and out of sight all of the time but it works for us!

Tip: cleaned and dried tin cans are great for storing felts, pencils and crayons : )


Friday, 23 November 2012

stegasaurus socks

These are awesome so I made the boy some. In Winter I'll make him long ones.


T in the pairs I made him- they're not great shots but you get the idea- it was very hard to keep him still!


Monday, 8 October 2012

dinosaur egg money boxes

I found some small balloons and thought up this idea mostly to keep the kids amused while I paper mached the ice cream pinata I'm making. Whenever I put a layer on they want to help and it gets messy ( and makes twice as much work for me).

They each covered a small balloon in four layers of paper mache which we did over 4 days as each layer needs to dry before adding another. They painted them to look like dinosaur eggs ( or how we think they may have looked).

Using a needle I popped the balloons inside, painted them with a coat of polyurethane, which was slightly brown tinted which I thought looked good on them, and used a craft knife to cut slits big enough for inserting coins. One is a present for our wee friend who is 4 next month, there's one for us too. The idea is that once the egg is full of coins they smash/ rip it open to get the money out.


base colours
'splodges'
all done and ready to be wrapped as someone's pressie

Friday, 17 August 2012

dinosaur feet

Our boy needs no encouragement to be loud ( neither does the girl) but I knew they'd love stomping around in these cool dinosaur feet.

1. Cut out a dinosaur foot shape in card
2. Use that shape as a template for the second foot ( so they're the same)
3. Paint
4. When dry make holes in each foot. I had T stand on the foot and I drew a dot each side of his foot and made holes there.
5. thread ribbon through one hole and knot underneath- thread the ribbon through the other hole and do the same.
6. Thread two longer pieces of ribbon or thick string through each of the hole, again knotting underneath. These pieces need to be long enough for your kids to hold the ends of while standing up
7. Hopefully the pictures will make this all clear!


munch 100s and 1000s biscuit...paint....munch...paint..munch


STOMP! STOMP! STOMP!


Idea and possibly much better instructions from here : http://www.activityvillage.co.uk/dinosaur-feet-craft

Sunday, 29 July 2012

fossil biscuits

 M is talking about dinosaurs in her room at pre school so I thought this would be a fun way to extend on that and teach both kids a bit about fossils. This idea came from the Martha Stewart website http://www.marthastewart.com/

Ingredients
  • 1 cup walnuts, toasted
  • 2 1/4 cups all-purpose flour, plus more for dusting
  • Salt
  • 2 sticks unsalted butter, room temperature
  • 3/4 cup plus 2 tablespoons confectioners' sugar ( is that caster sugar?)
  • 1 teaspoon pure vanilla extract
Directions
  1. Preheat oven to 325 degrees. Pulse walnuts in a food processor until finely ground. Transfer to a bowl, and whisk in flour and 1/2 teaspoon salt.
  2. Beat butter, sugar, and vanilla with a mixer on high speed until pale and fluffy. Reduce speed to low. Gradually beat in walnut mixture.
  3. Divide dough into eighteen 1 1/2-inch balls, and press into irregular stone shapes using the palm of your hand; transfer to a parchment-lined baking sheet. Dust food-safe plastic insects with flour to coat; press into dough to make fossil impressions. Freeze until dough is very firm, 20 to 30 minutes.
  4. Bake until golden brown and firm in center, 25 to 28 minutes. Transfer sheet to a wire rack, and let cool.
You make the biscuit dough, shape it into balls, flatten the balls slightly with your hand and then press ( clean and floured) little plastic animals into them to make a shape.
The recipe doesn't say what temperature to bake them at so I went for 180o C. They didn't come out as well as Martha's did ( even after a full hour in the freezer) but we had fun and they taste nice. ITou caould even argue that they're healthy-ish since they have walnuts in them : ). I'm thinking if you follow the recipe you're bound to get better results than I did as I'm not a baker and we have a terrible oven that just decides if it's going to be too hot or not hot enough depending on what you're trying to cook!


one of our best- a scorpion
Martha's fossil biscuits- she's clearly an expert at making them : )


Monday, 26 March 2012

green

One of my favourite blogs http://www.lilmagoolie.com/ has started setting colour challenges each month to add a bit of colour to our lives and encourage a bit of creativity. This is what I did for this month's green theme. Some grass grew 'accidentally' in our sandpit recently which gave me the idea. I grew some grass in a seedling tray and on a rainy day brought it inside for the kids to play with. They loved hiding their insects and dinosaurs in it- it keep them both busy for ages.