whimsy

whimsy
Showing posts with label craft. Show all posts

Sunday, 5 July 2015

stained glass

I did this in two classrooms last week ( we made rainbows) and I bought home some of the left over materials. The idea is to sellotape clear book cover sticky side up to the table top. I put a white piece of paper under it to make it easier to see the colours. Stick pieces of cellophane onto the book cover- keeping in mind that it's hard to get off once it's in place. The kids loved this and they look really nice with light shining through them.

We also adapted it slightly and drew using a permanent maker, on the smooth side of the book cover before peeling the backing off and taping it to the table. I didn't get a picture of that one finished.


Saturday, 28 March 2015

milk bottle butterflies

I came across these recently and knew ours would enjoy making them. They're drawn on the sides of milk bottles with vivids. We used magnets on the back but thought eh mobile idea on the link was a good one.


Here's the link : http://alphamom.com/family-fun/crafts/milk-jug-decorative-window-crafts/

Monday, 12 January 2015

cardboard kitten toys

I like these

http://www.moderncat.net/2011/10/19/cardboard-critters-for-kitty-by-paper-matthew/


I wanted to buy some, but as the link to buy them didn't work- I tired making some myself. They're not as easy as you might think! I cut a range of circles to size, threaded them on a ribbon, knotted the ribbon at the nose and tail ends and drew a face


Monday, 8 September 2014

cute caterpillars

M has a pack of fairy themed cards that offer up heaps of great craft ideas. Both kids decided that these caterpillars made from egg trays looked like fun. They're probably a bit young for them but they had a good time and I didn't need to help at all. The cards would make a fun gift and I've found a pack at a good price ( see below).


Found a pack here on fishpond for $15.99

Thursday, 4 September 2014

a head band for Spring

Recently I've bought three beautiful head bands from the very clever hellow fallow ( found here in their felt store http://felt.co.nz/shop/hellofallow and on facebook https://www.facebook.com/hellofallow?fref=ts) They're beautifully made and I'm actually amazed I've been able to keep them aside for xmas presents! You should definitely go and have a look as they have free shipping at the moment too.


Last week at school we got daffodils for the Cancer society's daffodil day- a charity close to my heart. We had a few spares so I decided I'd make M a Spring headband with them. She's a bit sicky today too so though she could use some cheering up.

So inspired by hello fallow, I made this..

you'll need: flowers. elastic, needle and thread, matching felt and a glue gun

sew the elastic and flowers on

glue another piece of felt the same size and colour on top


Saturday, 19 July 2014

a pretty dream catcher

M had complained that her dream catcher wasn't working so I thought we'd make up a new one. I was inspired by this picture...


So we gathered materials, string, cord, broken bits off hair clips, beads and string.


Thursday, 8 May 2014

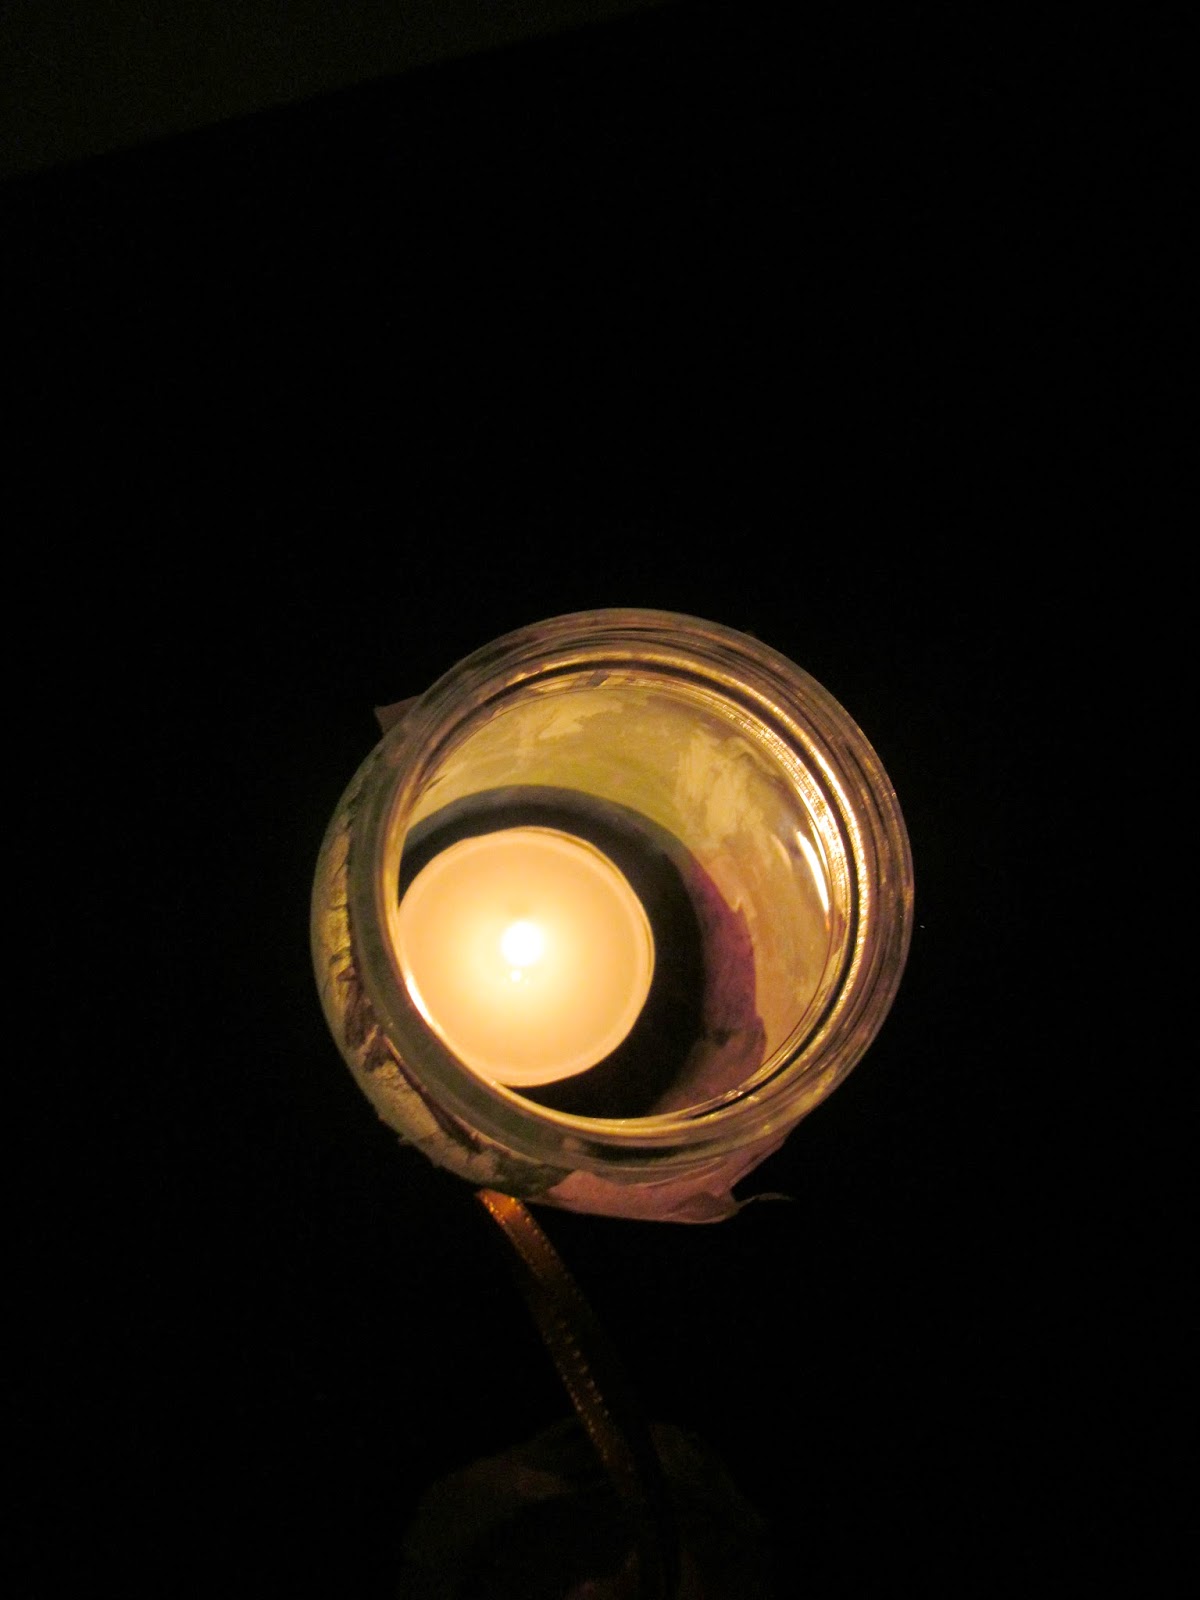
tealight candle holders

I helped organise a craft for my girl's Pippins this week and thought I'd share what we did

supplies:

a small empty jar and its lid- we used baby food ones
tissue paper in different colours
pva glue and brush
buttons
thin ribbon
scissors

directions:

Cut of tear strips of tissue paper
Apply glue to the jar
Gently press the tissue on
Keep covering the jar, overlapping the tissue from time to time

We put some cut shapes on our jars as a first layer

punch a small hole in the lid
Thread the ribbon through the button holes and through the hole in the lid and knot
Put a tealight candle inside
attach lid ( the idea is that this is a kind of handle to carry it by but you must make sure the lid is tightened!)

Light the candle. We lit ours using a lit piece of dried spaghetti. I was told about this technique and was very surprised that it worked.

The candle holder looks really nice in when it's lit as the light shines through the colours


Monday, 23 December 2013

spoon bugs

This idea came from an art programme the kids watch called Mr Maker. There's a segment on the show called minute makes. These spoon bugs are supposed to take that long to make but M and T spent half an hour on this making and painting their bugs.

The instructions were to use clay and cut up cotton buds but we used plaster of paris and cut up pipe cleaners. An air drying clay like Das would be perfect for this.

1. Pour the plaster into the spoons and poke the legs in, 3 each side for bugs (4 each side for spiders!). We found that we had to prop up the spoon a bit to stop the plaster coming out.

2. Let it dry and once dry push the bug out of the spoon.

3. Turn it over to stand on its  legs, paint and add eyes.

I was going to give ours a spray of clear varnish but as soon as they were dry they were taken out into the garden for adventures.

I thought these would also make fun fridge magnets.