whimsy

whimsy

Monday, 16 July 2012

plastic bag painting

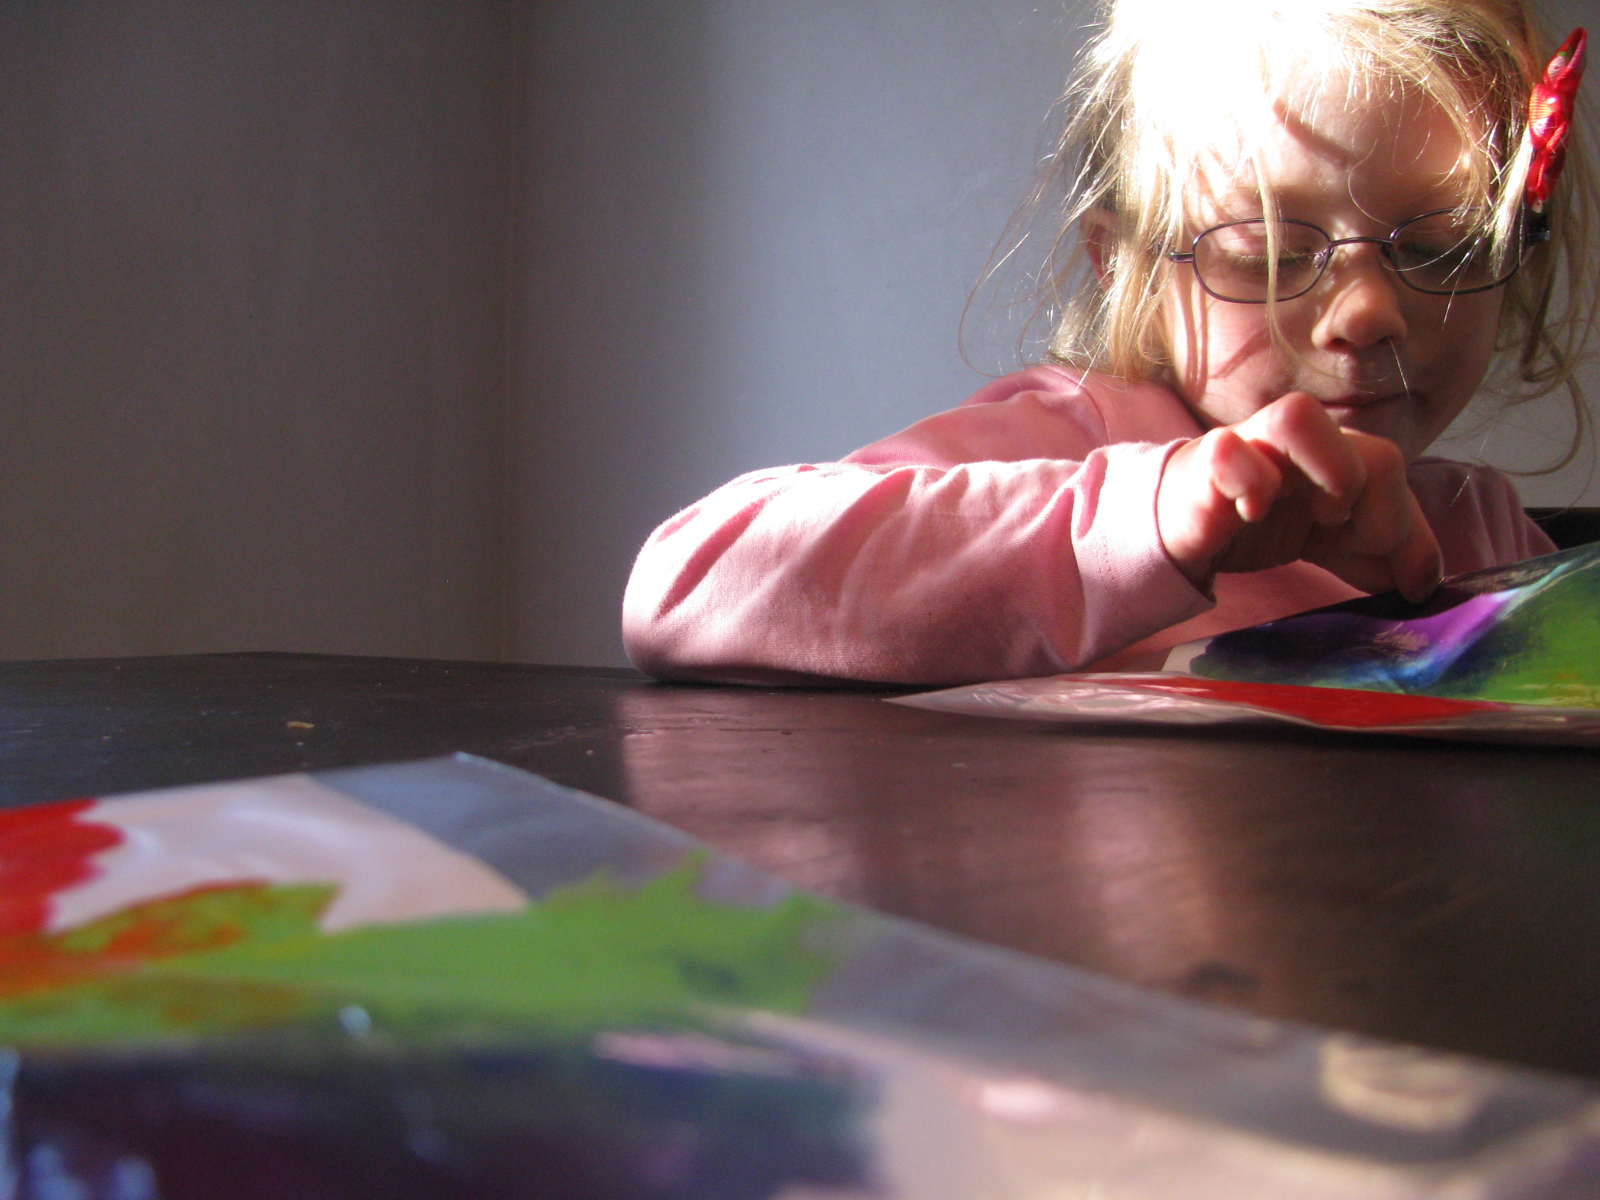
A got/ pinched this idea from a fellow crafty mum's post on Facebook. I thought it was a brilliant idea and a great mess free way to keep the kids entertained while getting dinner sorted ( far nicer than turning on the tv which is my usual routine!). Just cut the paper to the size of the self closing bag, add paint, slide it inside, seal the bag and let them squish and push the paint around. As my kids are a bit older I had to remind them to be gentle and not rip the bag with their fingernails. I'm sure this works much better with bigger bags- I just wanted to see how it worked so used the bags I had available.

This would be a nice way to make a gift card and wrapping paper for a small pressie.


Friday, 13 July 2012

easy peasy pom poms

This idea came from my girl. She brought a very cute pom pom monster home from pre school last week. She told me she made it with an old cd. That got me wondering, how would you make a pom pom with a cd? I had images of using two cds together ( in the old school cardboard rings style we all probably did as kids) but then realised that the hole in the middle of the cds would be too small to thread anything through. Together M and I googled 'cd pom pom' and came up with this. M recognised it straight away as being exactly what they'd done at preschool. It's a really clever, easy, fast and kid friendly method, here's the link :

http://www.youtube.com/cdpompom

And here's some photos we took making our pom pom monsters. Thread some pipe cleaners through the middle tie and glue eyes on. These would make great monster theme party favours.

I've als added a photo from my 'make' pinboard that shows how to make mini pom poms using a fork- cuuute!


Thursday, 12 July 2012

painting- a tried and true

The paints I purchased on trade me arrived yesterday. We got 10,125ml pots for $30 delivered- which I thought wasn't bad. The colours are nice and bright, they're water based and wash off easily. I set the easel up outside and gave the children ice cube trays filled with a bit of each colour paint. I like using ice cube trays as they can be washed ( using a big paint brush) and reused. We've used egg cartons for paint in the past and I've felt guilty for throwing them in the rubbish afterwards. We have a good brush system -they use one brush for a colour and when they've finished they put in a container. When they've used all of their brushes I wash them and they start over again. You might be able to see this in the photos- the used brush container is on the ground near them. I also gave them a black marker pen to draw their image before painting. Sitting in the sun drinking a coffee and watching my children paint - bliss!


M's painting of her nana patting a turtle

Monday, 9 July 2012

funny family faces

This idea started from here http://playathomemom3.blogspot.co.nz/ and again, I just adapted it. I used clear book cover instead of laminating them as I've found that white board markers wipe off book cover much cleaner. The kids loved this and I loved their giggles.


Mum gets fancy eyebrows!
Dad gets glasses
T gets the chicken pox again- arrggghh!

Saturday, 7 July 2012

paper owls

I like owls, so do the kids, their preschool's logo is an owl ( Minerva the goddess of knowledge). I saw this lesson on Pinterest, here's the link splishsplashsplatterart.blogspot.co.nz there's some other great art ideas there too. It's adapted slightly in that I cut all of T's triangles and circles out for him and most of M's. I showed them how to start off at the bottom. From there I guided them in adding rows of triangles or ' feathers' by moving up the page- 6-8 rows worked. We talked about how owl's eyes are big and round and where they could go on the page, they did all the gluing and added a beak, feet and feathers and in T's case, a smart triangle hat. 

I love collecting ( my husband would call it hoarding!) paper and card, I have a funny habit that I may have inherited from my Nana in that I can't throw wrapping paper or birthday cards away. For M's first birthday I even lined her dresser drawers with the wrapping paper her gifts came in. Every card they've ever been given is in a scrap book, I've promised myself to stop on their 5th birthdays- I'm just too sentimental I'm thinking.

I use paper and card in so many ways, preschool scrap books, collage, paper mache, sewn paper buntings, card making, sculpture. My growing collection of 'special' paper, card and stickers will be used to cover M's school books next year- I know, I'm such a planner! 


Friday, 6 July 2012

puffy paint

This is something I 'pinned' that I thought looked like fun. Here's the recipe:

1cup of flour
1 heaped tbs baking powder
1 tsp salt
water
food coloring

Combine everything. I split the mix out into sections of a muffin tin and coloured them one by one. We used cotton buds to apply the paint. It's best done on stiff card. When you've painted the image onto the card, put it in the microwave on high for 30sec- 1 minute and it 'puffs up'. Brilliant!

before blending in the food colouring


cotton buds- love them!


T's 'sea'

M's flower